Wood carving has been around for thousands of years, with the oldest known wood sculpture (The Shigir Sculpture) dated to be approximate 12000 years old. While the methods and techniques are relatively the same, wood carving as art grows in popularity.
Wood carving makes for a great hobby or pastime, and with dedication, it might even lead to a professional career. Though it might seem like a complicated form of art, wood carving might make for a great hobby or professional career with patience, persistence, and practice.
Do you want to start wood carving? I’ll share things you should be aware of before you venture deep into wood carving in this post. From wood carving techniques, tools used, safety equipment, and so much more to help beginners get a firm footing.
1. Choose the Type of Wood Carving
For a beginner, familiarizing yourself with the different wood carving styles is the first step. There are five types of wood carving. These are whittling, chip carving, carving in the round, and relief carving.
1. Whittling
Whittling is not only the oldest form of wood carving, but it is also one of the easiest among other wood carving techniques. If you’re looking to get started in carving, whittling is the best for beginners.

Whittling
The art of whittling only requires a sharp knife and wood. The knife used for whittling can be a pocket knife or a specialty whittling knife. Pocket knives are an excellent choice because they are portable and provide multiple blades in a single knife. On the other hand, specialty whittling knives offer more sturdiness, and their curved handles make them fit comfortably on the hand, which reduces fatigue during those long sessions. Check out our best pocket knives for whittling.
2. Chip Carving
Chip carving is another popular and easy form of wood carving for beginners. Chip carving is mainly used for decorative purposes where ‘chips’ of wood are removed to create geometric shapes or free-form styles. While chip carving is fairly easy for beginners, it requires precision and practice to do it well.

Chip Carving
Chip carving is similar to relief carving in that both are worked on flat wood and do not change the basic dimensions of wood. Tools needed for chip carving include a pencil to draw the patterns, chip carving knives, a sharpening compound, and wood. Chisels and gouges can be added, but they are not necessary to create beautiful chip carvings.
3. Carving in the Round
Carving in the round is a wood carving style that creates a 3D form that can be big or small, scale or life-size. Popular carving on the round items includes caricatures or animals. Unlike whittling or other wood carving styles, carving on the round requires several tools to create details and complete definition.
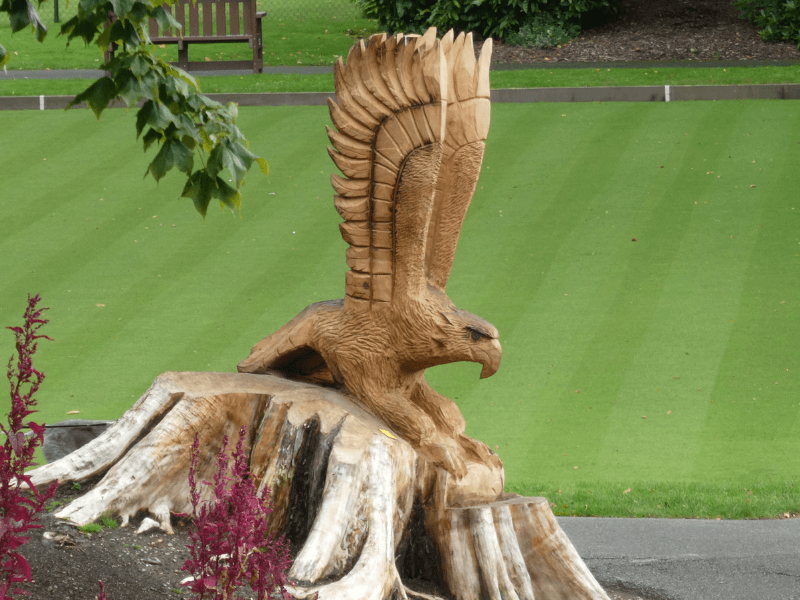
This is a chainsaw carving on the round of an Eagle
A knife alone cannot do this. Thus other hand tools such as chisels, gouges, or mallets will be used. Power tools can also be used in addition to traditional wood carving tools to carve out sculptures quickly. Rotary tools and other power/electric wood carving tools are great.
4. Relief Carving
Relief carving or carving in relief means the design is visible due to being emphasized somehow. A wood carving in relief means the picture on the wood stands out from the background. Depending on how raised it is from the background, a relief carving can be categorized into low relief, high relief, or deep relief.

Assyrian relief carving
Relief carving can be done with most hand tools like chisels, knives, and gouges. However, power tools can also be used, especially when you quickly remove background materials.
2. Learn about the Tools
Starting in wood carving is fairly easy. This is because you do not need expensive tools. For example, if you are interested in whittling, a pocket knife is more than enough to get you going and learn the basic skills.
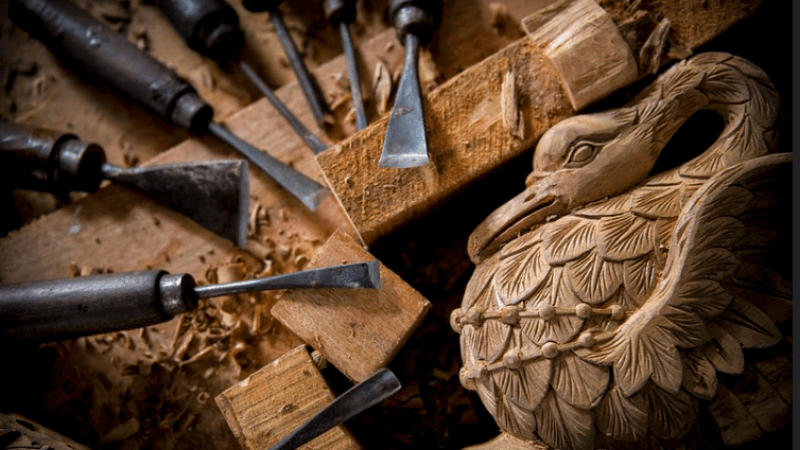
If you’re undecided about the type of wood carving you would like to practice, a basic set of wood carving tools like the Poliwell Wood Carving Tools Kit is more than enough. A basic beginner set will include six tools, a chisel and bent chisel, askew, a straight gouge and bent gouge, and a bent v-parting tool.
Apart from hand tools, there are wood carving power tools like wood carving dremels that make it easier to carve wood. These are great especially when dealing with hardwoods to remove and shape wood easily.
It is very easy to get carried away by the number of wood carving tools in the market. However, as a beginner, choose the basic tools and grow the number as you grow in the art.
3. Sharpening and Maintaining Tools
Sharpening tools is an important skill every woodworker, craftsman, or woodcarver needs to learn. This is because your tool condition can make a significant difference in the final product’s precision and, ultimately, carving process. Caring and maintaining your tools by honing them will also help them last longer to serve you better.
Learning how to sharpen wood carving tools is very straightforward and can yield the same results as a sharpening machine as long as you have the suitable materials.
Investing in quality sharpening stones that provide different grit options is worth it. However, I recommend you choose a stone that does not require lubrication. This can be difficult to clean and add unwanted stains to your wood carving project.
Practice can make you perfect. Avoid shortcuts while sharpening your tools, and work to maintain a consistent bevel angle and remove the unwanted burr.
4. Safety Equipment
Always remember, safety first!
When wood carving, safety can include using the proper tools to sharpen your tools. Other than that, safety equipment can be employed when woodworking to protect yourself.
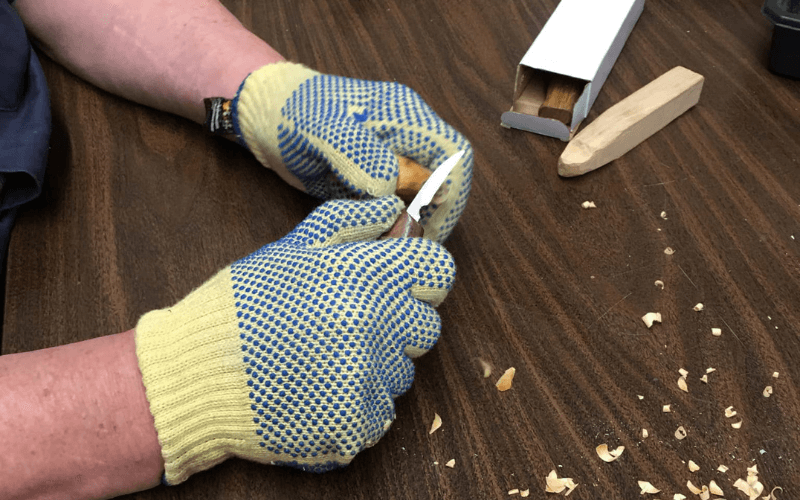
Kevlar Cut-Resistant Wood Carving Gloves
Wood carving gloves can stop a slicing cut, making them one of the most critical pieces of safety equipment a woodcarver should own. There are different gloves out there, and you have to compare their strengths and weaknesses before settling on your preferred choice. Thumb protection wears such as thumb guards and plasticized tape can also be employed to enhance the safety of a woodcarver.
Besides wood carving gloves, wearing eye protection and using a dust remover in some circumstances is also important.
5. Choosing the Right Type of Wood
Generally, all types of wood can be carved. However, some wood is more suitable for carving. Some woods can be hard to carve, such as Snakewood or the Brazilian Olivewood. Others can be full of knots like pine, with all the wood options, which is ideal for carving.
Basswood and Butternut are highly recommended for beginner woodcarvers. They are both soft and are extremely easy to work with.
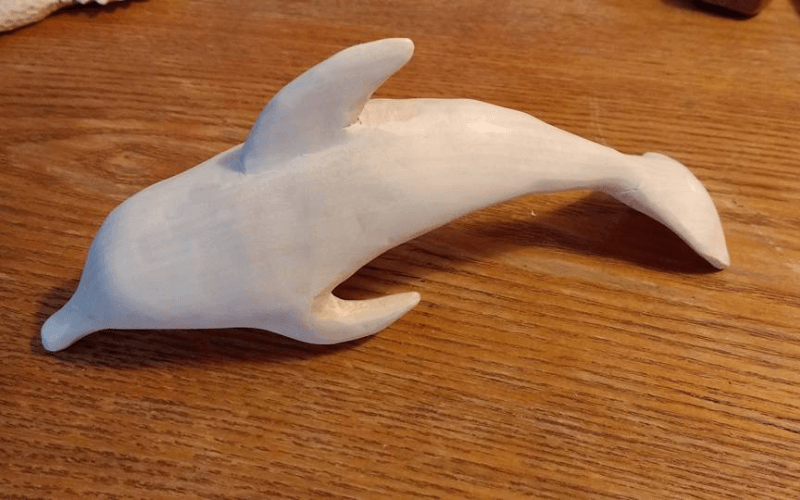
Carved Dolphin in Basswood
Basswood, also called Limewood, is incredibly soft, perfect for hand tools and intricate wood carvings. Butternut does well with stains, is very cheap, and has a natural pink finish with coarse wood grains. See these easier woods to start carving.
6. Wood Carving Finishing
The finishing you choose for your wood carving project not only enhances its appearance but also ensures it lasts for a long time. Popular wood finishing techniques for wood carvings include sanding, painting, and staining.
Sanding is the simplest of all finishing techniques. However, it is a delicate process, and when done well, it can provide a smooth finish that will improve the quality of a project. Effective sanding will depend on the tool you use. Smooth sandpaper or an oscillating brush is good to get you started. A contoured sanding grip is better to get around curved edges or inside coves. Check ou this article on how to sand intricate wood carvings.

Hand Carved and Sanded Animals Before Finishing
Paint brings your wood carving to life. You can use either acrylic or oil paints on your wood carving. Before painting, remember to sand down the carved project to ensure a smoother application.
After sanding down (220 grit sandpaper), remove all sanding dust using short bursts of canned air or a soft brush. After this, applying a light sealer will help prevent thin washes of paint or the stains from blotching. When done, allow the sealer to dry and apply a paint mixture of your choice.

Before and After Sealing a Wood Carving with Boiled Linseed Oil (BLO)
Wood staining is another popular way of finishing wood carvings because it preserves the natural aesthetics of the wood. When wood is stained, the grain of the wood is left visible, which can enhance its beauty. Wood stains are available in different colors, but you can also customize your stain to fit your project specifications.
Wrapping Up
Wood carving is an easy art; however, it will take time to slowly and gradually master this art. Once mastered, it is one of the most rewarding hobbies that can grow into a profession. To start, learn how to carve wood using different carving tools. It might take a while, but nothing can limit your wood carving skills once you have mastered this. Read more wood carving guides.
